3.5. Create a glossary
There are several methods for creating a glossary.
Procedure 26. Creation in the Calenco interface
-
Click on
 Create.
-
Give a title to the glossary.
-
Choose the
glossaryelement in :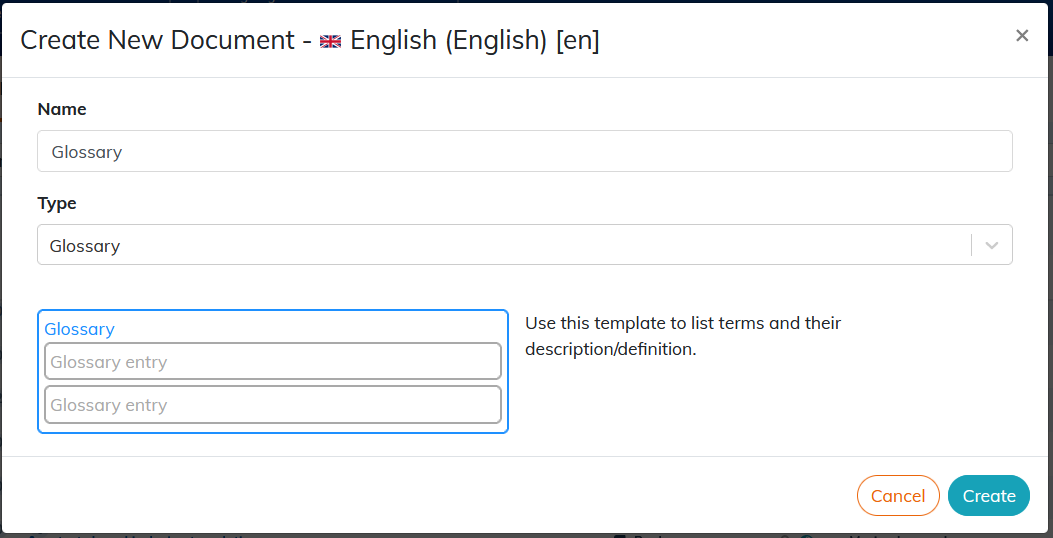
-
Click on : the content editor opens the created glossary in a new tab.
Procedure 27. Creation in an existing document
-
Open the document.
-
Click on the → menu.
-
Add the
glossaryelement.
Procedure 28. Creation of an automatic and filtered glossary
-
Open the document.
-
Click on the → menu.
-
Add the empty
glossaryelement. -
In the → menu (in the left area of the editor) place “auto”.
-
Retrieve the url link of the glossary created beforehand, modify it by deleting a part:

-
Place the link in the
glossary.collectionpublication parameter (Publish a glossary).Glossary terms that are not cited in the document are not published.
3.5.1. Edit a glossary
The glossary consists of entry elements.
On creation, the entry element is composed of the elements: term, definition.
It is possible to add other optional elements. These items are found in the → menu (To customize).
![[Tip]](cco-tip.svg) |
|
|
The description of the elements is available in the DocBook guide. |
Using the term element for words or groups of words in the text of the document allows reference to glossary entries.
-
Select the text to set as a term.
-
Click on the → menu.
![[Note]](cco-note.svg)
Content defined as
termappears in italics in the publication.